Our Kitchen Renovations
As usual, it’s taken me way too long to share this update! We finished our kitchen reno this past November, but I just really slacked on taking the photos for this blogpost. So here we are! Only a few months late :)
Whew! This kitchen was quite the process! And it felt like it took forever. We started in August and finished up the final touches in like November, so it took a good 3-4 months. But we chose to do just about everything ourselves, so we sacrificed some time to save a lot of money. Thank god Josh is so handy!
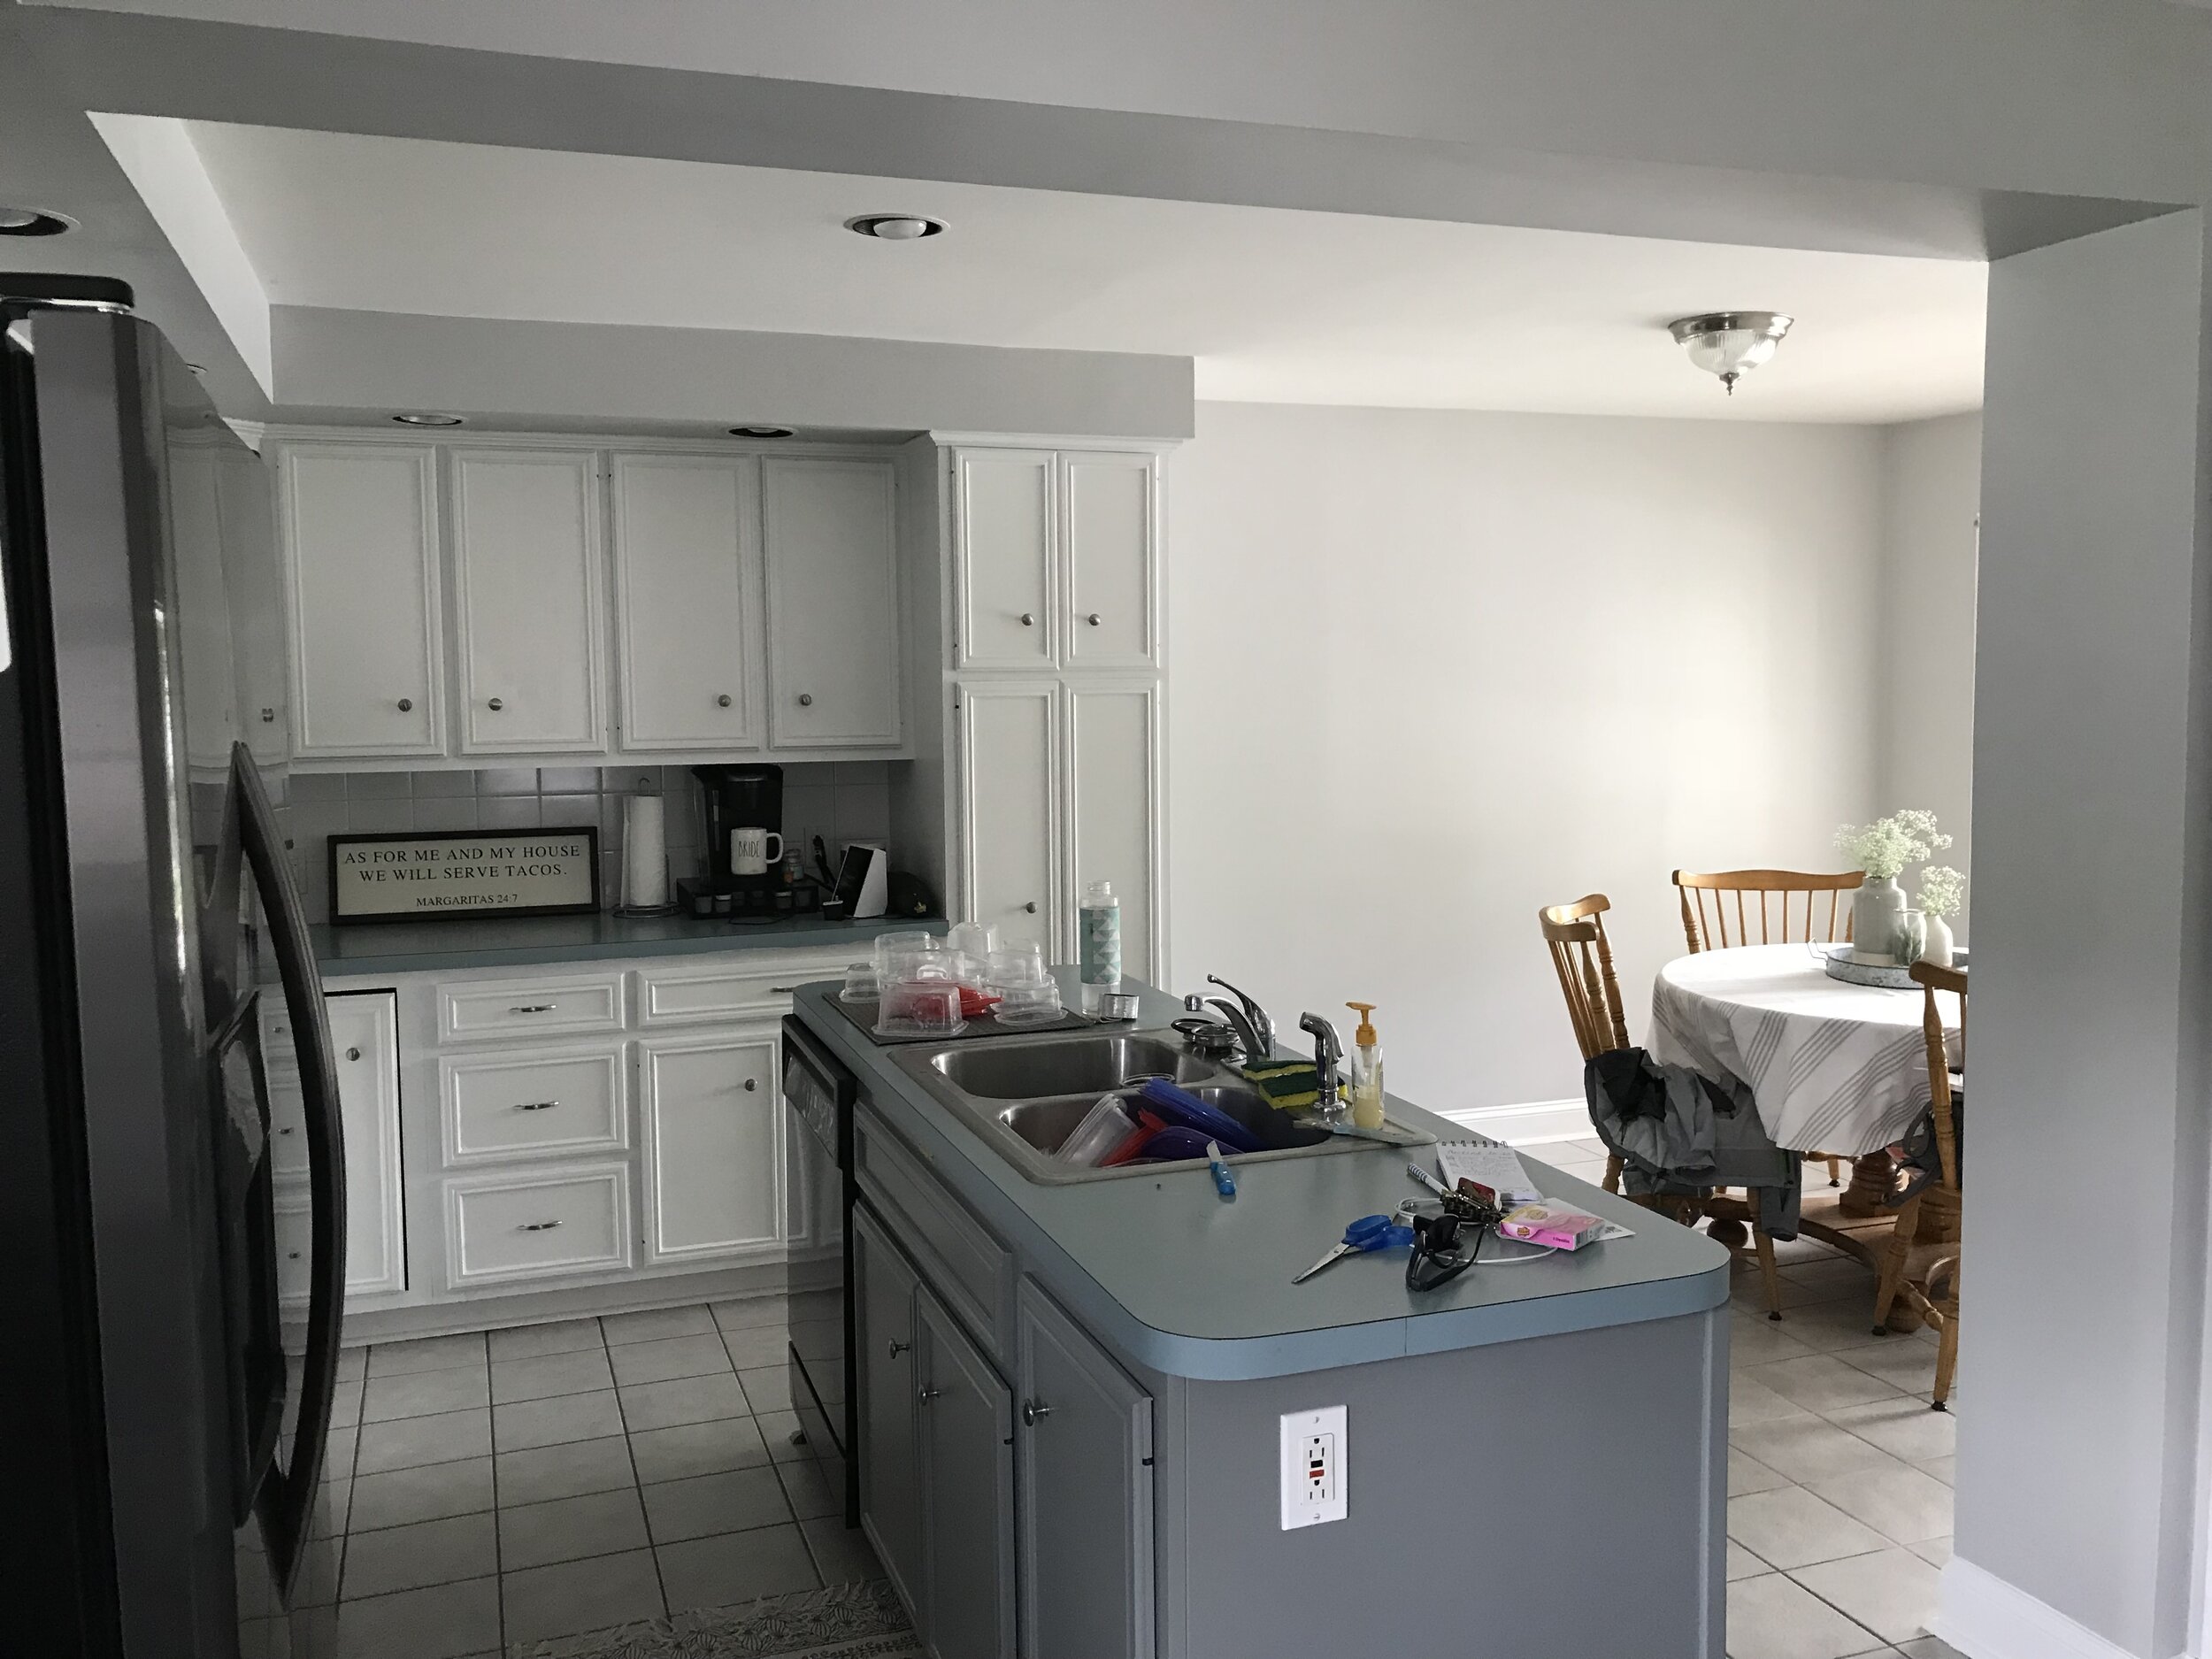
Well, I guess we should start with the original befores! When we first moved in I hated the kitchen. I loved the space, but I just couldn’t handle all the clashing colors & tones. One of the first things we did was paint the cabinets & walls/trim, as well as updated the appliances. So when it came time to update the rest of the kitchen, we were so happy to have already have some of the tedious tasks finished! For the cabinets, we used Valspar cabinet paint in the color “Snowbound”, and the walls were painted with Sherwin Williams in the color “Pediment”.
Initially, we were planning to update the counters soon after move in with a cheaper option since this isn’t our forever home. Then it just kept getting pushed off, so we decided to just wait and do the rest of the kitchen at once. As you’ll see below, we decide to upgrade the countertop to quartz, which will hopefully help with resale value!
Here’s what we did:
Tile Floors (They were from lowes, but of course I can’t find them anywhere on the site. I just remember they were called “mitte grey”.)
Quartz Countertops (Venoso from Natural Stone Works)
Subway tile back splash (Basic subway tile from lowes, “silver” grout)
Black knobs & handles (from Amazon)
Butcher block island (White oak with a clear finish — no stain! We ordered from a friend’s company, but I don’t think they normally do individual orders.. message me if you want more details!)
Shiplap around island (supplies were from lowes and they were painted to match the cabinets)
Sink & faucet (Amazon)
Chandelier (Wayfair)
Aside from what’s listed above, we replaced & painted the trim/baseboards, painted the ceiling, and updated some decor. I think I got most of it from Cocalico Creek, Homegoods, The Nest, and Hobby Lobby. Or some stuff was just repurposed from what I had around the house! The only thing we didn’t get a chance to do was update the table. We didn’t have it in our budget to buy a whole new one, and honestly I didn’t really want to! Since I’m not sure what type of table we would want for our future home, I’d rather wait to make a big purchase like that. We are thinking about doing some sort of table refinish and possibly buying new chairs sometime in the (hopefully near) future.
These pictures above really stress me out haha. But overall, the process wasn’t too bad. Just super time consuming! And of course when you are living in the middle of a reno (especially in your kitchen) it feels like it’s forever. I’d say the most time consuming/tedious part was the floors. There were just so many steps in the process. From demo, to subfloors, to cutting & laying tiles, to grout.. it was just overwhelming and super messy! Plus, having to have to move your appliances out of place is a real pain in the ass for daily life. Especially when your “working from home” space is in the kitchen haha. Everything else went pretty smoothly though! It just took a lot of patience since Josh was still working full time, and he was only able to work on the updates during the evenings/weekends. And let’s be honest, there wasn’t much I could do to contribute! But in the end, all the work was worth it! The finished product is shown below :)


